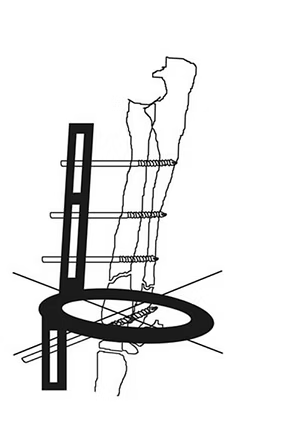
1. Distal radius-ulna fracture.

2. Insert the most distal K wire and connect it with the ring.

3. Insert the most proximal K wire and connect it with the ¾ ring.

4. Connect the rings by means of two threaded rods with conical couple.

5. Distract the fracture acting on the nuts On the threaded bars. If needed, add a third threaded bar for reduction.

6. Perform the requested adjustments of the axis sliding the bone along the K wires.

7. Perform the requested adjustment of torsional deformities by rotating the rings.

8. Achieve a correct clinical alignment before any further stabilization.

9. Up to this point, the circular and hybrid constructs are identical. If you want to set a hybrid contruct up, connect a rail to the distal ring, on the cranio-medial side of the radius.

10. Insert a threaded pin in the radius, connecting it to the proxi-mal slot.

11. Complete the stabilization as require.
Then, you have different options, based on the fracture’s features and your personal preferences.
OPTION 1
Leave at least temporarily the proximal ring for further stability, adding a K wire to it. The proximal ring may be removed after 3-4 weeks.
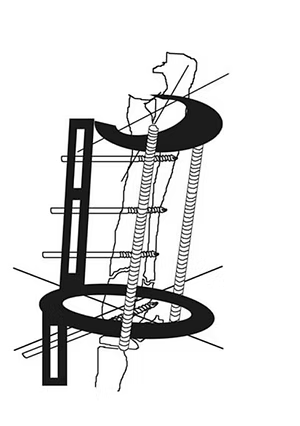
OPTION 2
If you think the fracture is stable enough, remove the proximal ring and threaded bars, just leaving the hybrid frame.